")
1. Why Custom Lantern Projects Are on the Rise 🌍
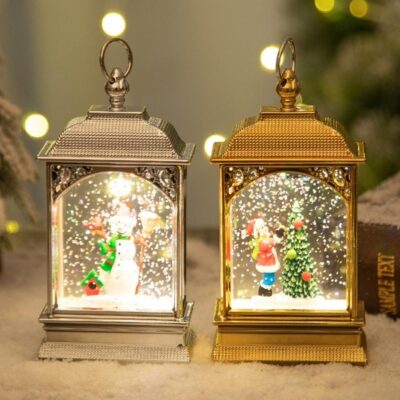
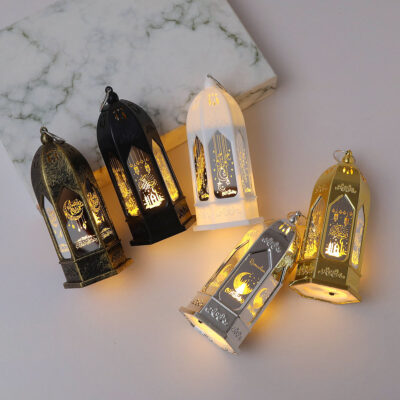
In today’s lighting market, mass-produced designs no longer meet the expectations of retail chains and lifestyle brands. Buyers want unique lanterns that reflect their brand personality, market positioning, and seasonal trends. That’s where OEM (Original Equipment Manufacturing) and ODM (Original Design Manufacturing) solutions become essential.
A custom lantern program allows importers to control every element — size, material, lighting tone, packaging, and labeling — ensuring exclusivity in competitive retail channels. Most projects begin with concept validation and supplier consultation, typically led by an experienced Custom Lanterns Manufacturer.
2. Step One: Concept & Design Sketch ✏️
Every successful custom project starts with a clear concept. Buyers can provide reference photos, brand guidelines, or rough sketches. The factory’s design team then translates the vision into a 2D drawing or 3D rendering, complete with dimensions, materials, and assembly details.
At this stage:
-
Confirm the target market (indoor décor, garden, event use, etc.).
-
Define the style (modern, rustic, vintage, or minimalist).
-
Specify target price points to align materials and finishes accordingly.
Good factories often offer free design consultation before tooling begins, helping clients balance design ambition and commercial feasibility.
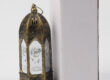
3. Step Two: Material Selection 🪵🔩
Choosing the right materials determines the lantern’s durability, cost, and perceived quality.
Common material categories include:
-
Metal: Steel, aluminum, or brass for structural strength.
-
Wood: Pine, oak, or bamboo for natural aesthetics.
-
Glass: Clear, frosted, or colored for varied lighting effects.
-
Plastic or resin: Lightweight and affordable for promotional lines.
It’s critical to request sample swatches for coatings, colors, and finishes. This ensures consistency between design intent and final production outcomes.
4. Step Three: Prototype Development 🧩
Once the design and materials are confirmed, the supplier produces a prototype or pre-sample. This step transforms design files into a tangible object. It’s the best time to evaluate:
-
Proportion and balance
-
Structural integrity
-
Light diffusion and LED brightness
-
Paint and coating adhesion
A prototype review meeting allows both parties to refine the product before golden sample approval. Documenting revision feedback at this stage avoids downstream errors during mass production.
5. Step Four: The Golden Sample 🔶
The golden sample is the approved physical standard representing your exact requirements — it becomes the reference for mass production. All dimensions, finishes, and performance criteria must match the golden sample.
To ensure traceability:
-
Each golden sample should be labeled with version number and approval date.
-
Photos and QC reports should accompany shipment.
-
Any change after approval requires new sample verification.
Factories that manage golden samples professionally guarantee long-term consistency across multiple reorders.
6. Step Five: Tooling and Production Setup ⚙️
For complex lantern designs, custom molds, dies, or jigs may be necessary.
During this phase, suppliers:
-
Create cutting dies for metal or wood panels.
-
Set up jigs for glass fitting and LED assembly.
-
Calibrate production lines to ensure precision alignment.
Reliable OEM partners will share tooling photos and progress updates before the first production run begins.
7. Step Six: Mass Production & Quality Control 🏭
Before large-scale production, small pilot runs test assembly efficiency and quality control flow. Key inspection points include:
-
Raw material verification
-
Coating thickness and adhesion tests
-
Functional LED testing
-
Packaging durability drop tests
Consistent documentation (QC checklists, inspection photos) helps importers verify compliance remotely. Buyers working with a stable Lantern Factory benefit from transparent reporting and faster feedback loops.
8. Step Seven: Packaging, Branding & Labeling 🎁
Packaging is the final touchpoint for brand presentation. Options include:
-
Brown box for bulk and wholesale shipments
-
Color gift box for retail programs
-
Eco-friendly cartons with soy-based ink and recyclable inserts
Factories can integrate barcode labels, hangtags, or custom printed logos directly on packaging. This simplifies warehouse management and enhances shelf impact.
9. Communication & Project Timeline ⏱️
A standard custom lantern development cycle follows this timeline:
-
Design discussion & quote: 3–5 days
-
Prototype creation: 10–15 days
-
Golden sample confirmation: 7–10 days
-
Production & inspection: 25–40 days
Clear communication between buyer and manufacturer keeps the project on schedule. Regular progress photos, sample approvals, and shipping confirmations form the backbone of professional collaboration.
10. Conclusion 🌟
Developing custom lanterns through OEM or ODM channels is not just a manufacturing process — it’s a partnership. From initial sketch to golden sample, every detail shapes brand perception and product success.
By working with an experienced custom lantern supplier, you gain full creative control, reliable production capacity, and the confidence that every lantern shipped reflects your brand’s design intent and quality promise.